

Mask bags
- Amelia

- Sep 4, 2020
- 2 min read
I have taken to keeping a mask in my purse at all times, so I never forgot when I leave the house. But I don't really like having a mask just wandering all loose in my purse, making it hard to find and rubbing up against my wallet and receipts and whatever else I throw in there.

Enter the mask bag!
It's a tiny little bag, but it does hold three kid masks and one adult mask (yes, I checked). It's a tight fit, but I can get them all in there.

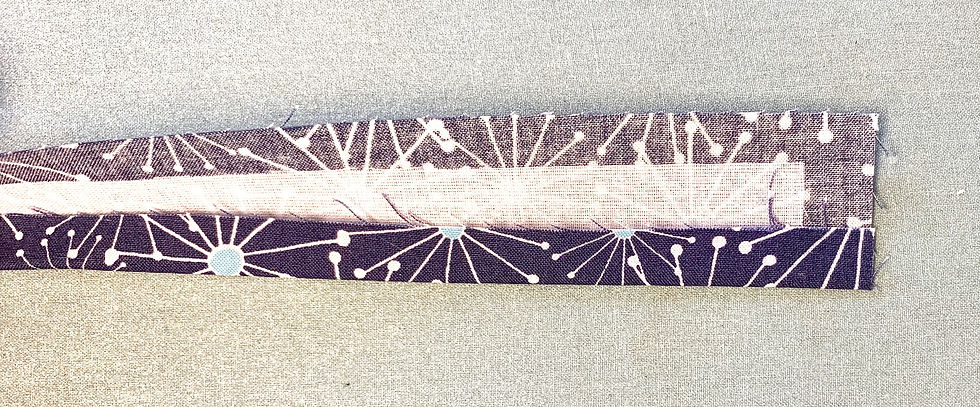
I really love these colors together.
I cut the bag fabric at five inches square. And then because I love box corners, I also cut out 1 inch squares in the bottom corners. I wanted to be able to find and grab the bag quickly, so I cut a handle at 2 inches by 8 inches.

I used quilting cotton for these bags, and I don't always put interfacing on quilting cotton when making bags, but I wanted these to have a bit of body, so I put interfacing on everything.
Plus, with such tiny pieces, I didn't need a lot of interfacing, so why not?

And then I added some HTV. You know, just in case I forget what's in these bags.
After that, it was time to make the handle. I usually make bag handles by folding in fourths, so pressing the handle piece in half, and then pressing the raw edges into the folded center.

Then topstitch down both sides, about 1/8 inch from either side.

Then stitch it to one main fabric piece, sewing it about 1/4 inch from the edge, just enough to hold it in place.
Once that is done, it's time to put in the zipper. I didn't bother with zipper tabs for this one, since it's so small and is basically just going to hang out in my purse. Other than that, you just can add a zipper like I describe in this post.

Once the zipper is in, put the main bag pieces together, and the lining pieces together. I used a 1/2 inch seam allowance. Stitch all the straight sides, except leave a gap in the lining for turning. Oh, and leave the zipper about 2/3 open, it helps with the turning.

To sew the box corners, pinch together two of the straight edges and finger press the seams open. Then sew a straight line, 1/2 inch from the edge.
Once all the corners are sewn, turn it right side out (there is a lot of bulk, and it's a really small gap, this was really hard), and press as much as you can. At least be sure to press the gap in the lining.

I use a really sloppy zig zag stitch, but if you're worried about what it looks like, you can hand sew it closed (nobody is going to see the bottom of the lining, don't worry about what it looks like. You can still hand sew it closed if you want).
And then you will have cute little bag to keep masks in!


Comments